인자로 지정한 페이지를 캡쳐하는 도구
- 저번에 이어 이번에는 커맨드 라인에서 인자로 URL을 넘겨주어 스크린샷을 찍는 프로그램을 작성할 것이다.
- CasperJS에서는 실행 시 지정한 인자가 casper.cli.args에 배열 형식으로 들어간다.
코드
// Capturing the web page  appointed by command line argument.

const casper = require('casper').create();
const utils = require('utils');

// Getting an argument.
let args = casper.cli.args;
if(args.length <1) {
    // Printing the useage.
    casper.echo("USES:");
    casper.echo("shot-tool URL [savepath]");
    casper.exit();
}

let savepath = "screenshot.png";
let url = args[0];
if (args.length >= 2) savepath = args[1];

// Executing CasperJS processing
casper.start();
casper.viewport(1024, 768);
casper.open(url);
casper.then(function() {
   this.capture(savepath, {
       top:0, left:0, width:1024, height:768
   });
});
casper.run();
결과
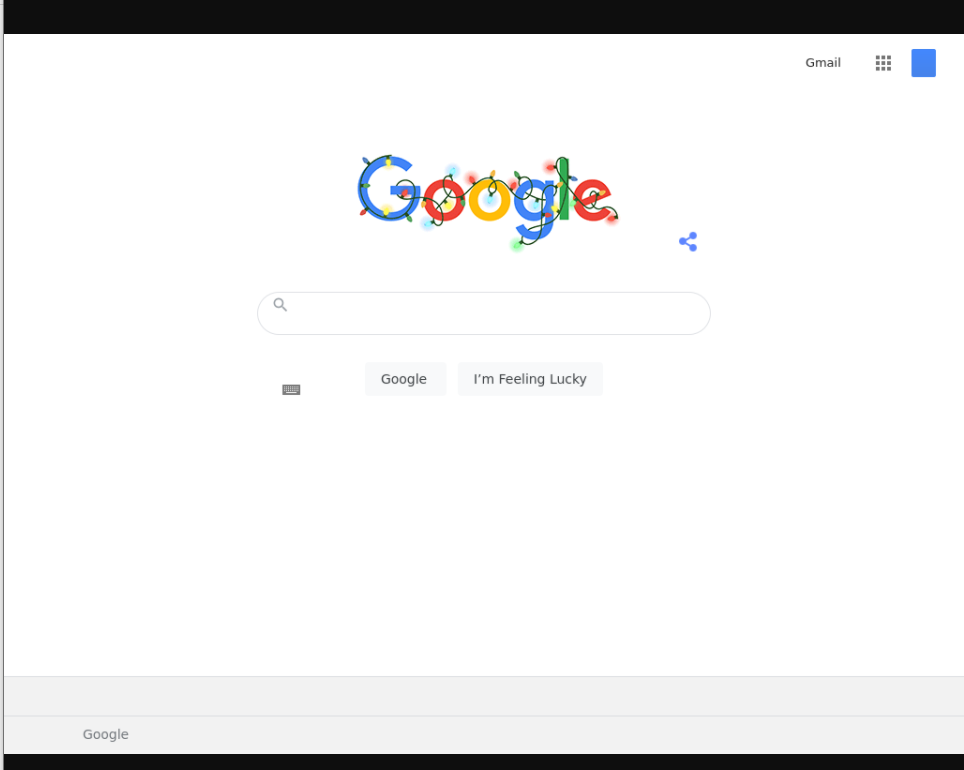
- 이번에는 배치 파일(셸 스크립트)를 만들어서 쉽게 사용해보자
코드
#!/bin/sh
SCRIPT_DIR=`dirname $0`
/usr/local/bin/casperjs $SCRIPT_DIR/shot-tool.js $*
- goormide는 ubuntu 기반에서, 스크립트 파일을 실행하기 위해 모드를 바꾸어 주어야 한다.
- chmod u+x shot-tool.sh
- shot-tool https://google.com
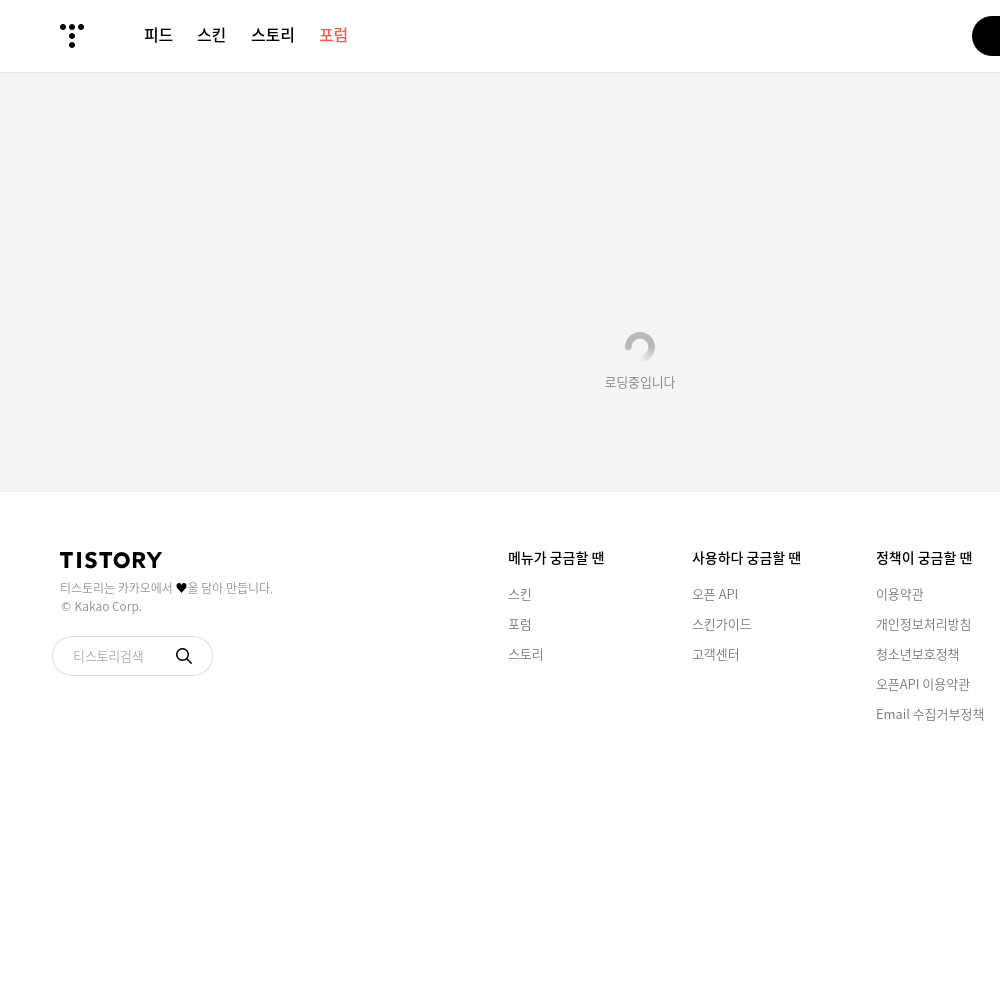
로그인 후의 데이터를 다운로드
- 티스토리에 로그인 한 후, 내 tistory 관리 페이지의 html을 얻어올 것이다.
코드
var casper = require('casper').create();
var utils = require('utils');

// url and login info variables
var url = "https://www.tistory.com/auth/login/";
var id = "";
var password = "";

casper.start();
casper.viewport(1024, 768);
casper.open(url);

casper.then(function() {
    this.capture('hello1.png', {
       top:0, left:0, width:1024, height:768
    });
});
casper.then(function() {
     if(this.exists('a.btn_login.link_kakao_id')) {
        this.echo('btn exists!')
        this.click('a.btn_login.link_kakao_id')
   }
})
casper.then(function() {
   this.capture('hello.png', {
       top:0, left:0, width:1024, height:768
    });
});
casper.then(function() {
 casper.sendKeys('input.tf_g.tf_email', '*************@***.***');
casper.sendKeys('input#id_password_3', '**********************888');
});

casper.then(function() {
    this.click('button.btn_g.btn_confirm.submit');
});

casper.then(function() {
    this.capture('hello2.png', {
       top:0, left:0, width:1000, height:1000
    });
})

casper.then(function() {
    console.log(this.getCurrentUrl());
})
casper.then(function() {
    this.wait(5000, function(){this.echo('waiting')});
});

casper.then(function() {
    this.capture('hello3.png', {
       top:0, left:0, width:1000, height:1000
    });
})

casper.then(function() {
    casper.open('https://devel-up-tree.tistory.com/manage/');
})

casper.then(function() {
    this.capture('hello4.png', {
       top:0, left:0, width:1000, height:1000
    });
    this.echo(this.getPageContent());
});

casper.run();
결과


- 이번에는 인스타로 시험해 볼 것이다
코드
var casper = require('casper').create({
    verbose: true,
    logLevel: 'debug',
    userAgent: 'Mozilla/5.0 (Macintosh; Intel Mac OS X 10_6_8) AppleWebKit/537.22 (KHTML, like Gecko) Chrome/25.0.1364.172 Safari/537.22',
    pageSettings: {
      loadImages:  false,         // The WebPage instance used by Casper will);
      loadPlugins: false}
    });
var utils = require('utils');
var fs = require('fs');

// url and login info variables
var url = "https://www.instagram.com/";
var id = "[your id or eamial]";
var pwd = "[your password]";

casper.start();
casper.viewport(1024, 768);
casper.open(url);

casper.then(function() {
    this.wait(1000, function(){this.echo('waiting login view')});
});
casper.then(function() {
    this.capture('insta1.png', {
       top:0, left:0, width:1024, height:768
    });
});
casper.then(function(){
    casper.sendKeys('input[name=username]', id);
    casper.sendKeys('input[name=password]', pwd);
});
casper.then(function(){
    casper.click('button[type=submit]');
});

casper.waitForSelector('img[data-testid=user-avatar]',
    function pass(){
        this.echo('resource has been loaded.');
    },
    function fail(){
        this.echo("resource has been nots loaded.");
    },
    3000
);

casper.then(function() {
    this.open('https://www.instagram.com/accounts/onetap/');
})

casper.waitForSelector('img[data-testid=user-avatar]',
    function pass(){
        this.echo('resource has been loaded.');
        this.click('button[type=button]:nth-child(1)');
    },
    function fail(){
        this.echo("resource has been not loaded.");
    },
    3000
);

casper.then(function() {
    this.open('https://www.instagram.com/');
})

casper.waitForSelector('img[data-testid=user-avatar]',
    function pass(){
        this.echo('resource has been loaded.');
        this.click('input[autocapitalize=none]');
  },
    function fail(){
        this.echo("resource has been nots loaded.");
    },
    3000
);

casper.waitForSelector('input[autocapitalize=none]',
    function pass(){
        this.echo('resource has been loaded.');
        this.open(url + 'explore/tags/coffee');
  },
    function fail(){
        this.echo("resource has been nots loaded.");
    },
    3000
);

casper.waitForSelector('h1.K3Sf1',
    function pass(){
        this.echo('resource has been loaded.');
        this.capture('insta2.png', {
            top:0, left:0, width:1024, height:768
         });
  },
    function fail(){
        this.echo("resource has been nots loaded.");
    },
    3000
);

casper.then(function() {
    this.capture('insta3.png', {
       top:0, left:0, width:1024, height:768
    });
});
casper.then(function() {
    console.log(this);
    console.dir(fs);
    fs.write("data.html", this.getPageContent(), 'w');
});

casper.run();
결과
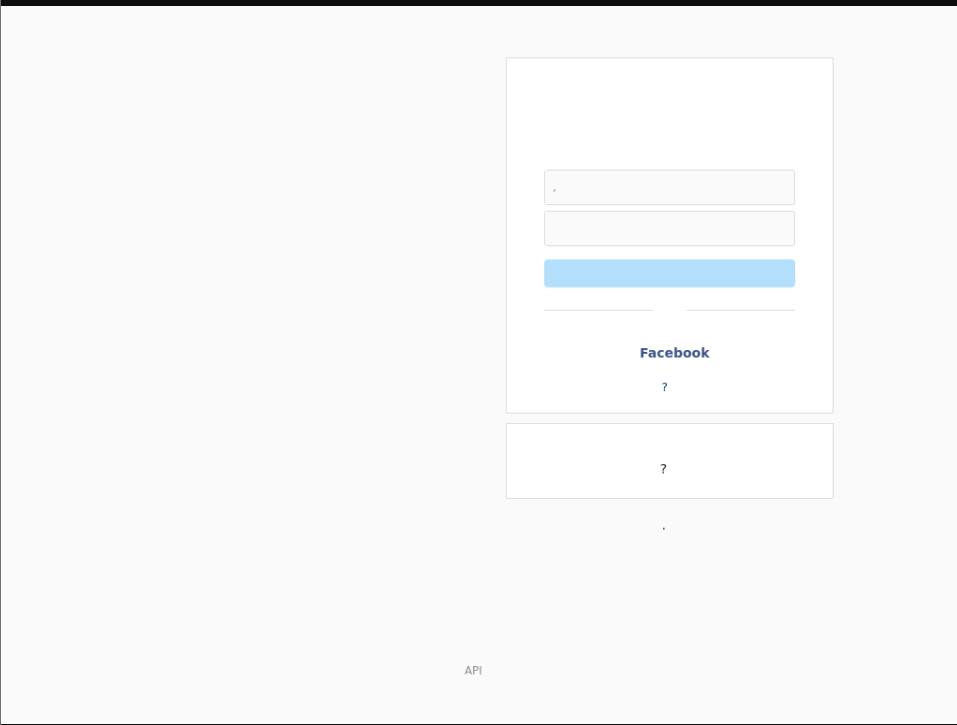
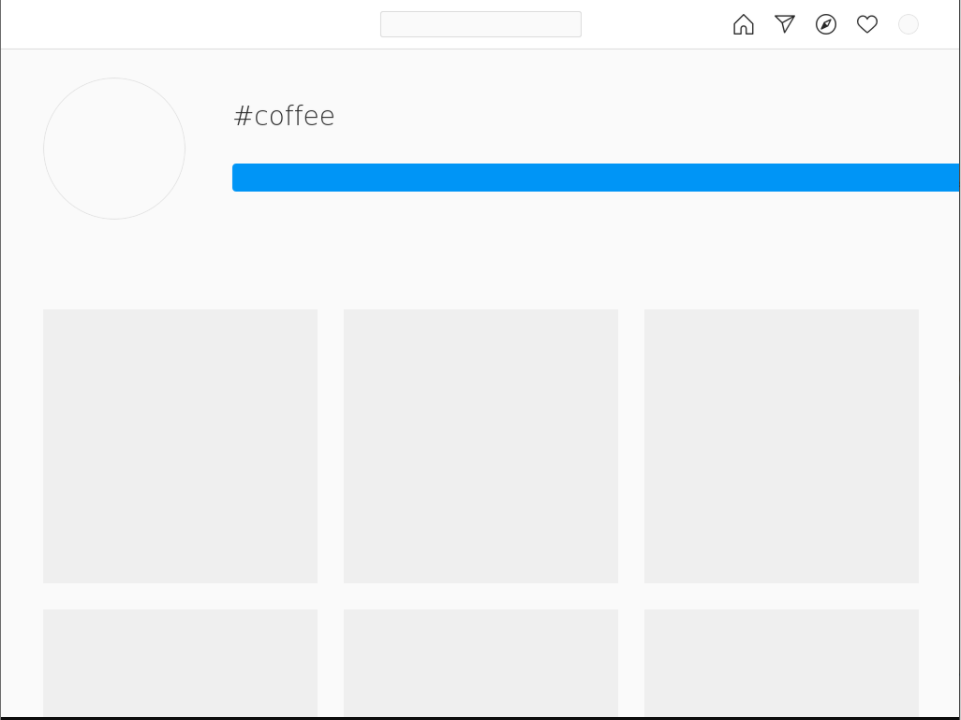
- 페이지는 test.html 저장되었다.
CSS 선택자 지정 방법
- 선택자 기본 서식
|
서식 |
설명 |
|
* |
모든 요소 |
|
태그명 |
태그명이 일치하는 요소 ex) p |
|
.클래스명 |
클래스 속성 값이 일치하는 요소 |
|
#id명 |
id 속성 값이 일치하는 요소 |
- 선택자끼리의 관계를 지정하는 서식
|
서식 |
설명 |
|
선택자, 선택자 |
열거된 복수의 선택자 ex) h1, h2 |
|
선택자 선택자 |
하위 계층의 후손 요소 ex) div h1 |
|
선택자 > 선택자 |
바로 아래 계층의 자식 요소 ex) div>h1 |
|
선택자 A + 선택자 B |
같은 계층에 선택자 A 바로 뒤에 있는 선택자 B 한 개 ex) h1+h2 |
|
선택자 A ~ 선택자 B |
같은 계층에 선택자 A 바로 뒤에 있는 선택자 B 모두 ex) h1~h2 |
- 선택자의 속성에 따른 서식
|
서식 |
설명 |
|
요소[att] |
특정 속성을 가지는 요소를 선택 |
|
요소[att=’val’] |
att 속성의 값이 val인 요소, val 값이 전체 일치해야 함 |
|
요소[att~=’val’] |
att 속성의 값에 val을 단어로(스페이스로 구분) 포함하는 요소 |
|
요소[att|=’val’] |
att 속성의 값이 val이거나 val로 시작하고 뒤에 하이픈(-)이 있는 모든 요소 |
|
요소[att^=’val’] |
att 속성의 값이 val로 시작하는 요소 |
|
요소[att$=’val’] |
att 속성의 값이 val로 끝나는 요소 |
|
요소[att*=’val’] |
att 속성의 값에 val을 포함하는 요소 |
- 위치나 상태를 지정하는 서식
|
서식 |
설명 |
|
:root |
Document의 루트 요소 |
|
:nth-child(n) |
동위 요소 중 n번째 위치한 요소 |
|
:nth-last-child(n) |
동위 요소 중 뒤에서 n번째 위치한 요소 |
|
태그:nth-of-type(n) |
동위 요소 중 지정한 태그 중 n번째 요소 |
|
:first-child |
동위 요소 중 첫 번째 요소 |
|
:last-child |
동위 요소 중 마지막 요소 |
|
태그:first-of-type(n) |
동위 요소 중 지정한 태그 중 첫 번째 요소 |
|
태그:last-of-type(n) |
동위 요소 중 지정한 태그 중 마지막 요소 |
|
:only-child |
동위 요소 없이 한 개의 요소만 있을 때 해당 요소 |
|
태그:only-of-type |
동위 요소 중 지정한 태그가 하나만 있을 때 해당 요소 |
|
:empty |
내용이 빈 요소 |
|
:lang(code) |
특정 언어 code로 된 요소 |
|
:not(s) |
s 이외의 요소 |
|
:enabled |
활성화된 UI 요소 |
|
:disabled |
비활성화된 UI 요소 |
|
:checked |
체크된 UI 요소 |
Electron으로 데스크톱 애플리케이션 작성
- Electron : Github의 'Atom'에서 사용하고 있는 라이브러리
- 자바스크립트로 크로스 플랫폼 데스크톱 애플리케이션을 작성 가능
- 쉽게 생각하면, '웹 브라우저 안에 Node.js'를 넣은 것
- 실제로 'Chromium'과 'Node.js'를 조합해서 만들었다.
- Node.js의 기능과 웹 브라우저의 기능을 모두 이용 가능.
- Electron의 장점과 단점
- 장점
- 웹 기술을 이용하여 네이티브 애플리케이션을 쉽게 만들 수 있는 것
- Node.js의 API나 모듈을 그대로 사용 가능
- 단점
- 웹 브라우저인 Chromium을 그대로 포함해야 하므로 배포 사이즈가 커지기 때문에 간단한
앱이라도 수십~수백 MB의 저장 공간이 필요하다.
- 자바스크립트로 렌더링되는 페이지로도 작성 가능하다.
- 단순히 HTML을 다운로드하면 내용이 텅 비어있는 경우도 많지만
- Electron을 사용하면 자바스크립트에 의한 렌더링을 한 후 콘텐츠를 추출 가능하다.
- Electron 설치 : npm install electron-prebuilt -g
- Electron으로 간단한 애플리케이션을 만드는 순서
- 앱 설정과 메인 프로그램, 두 개의 파일을 준비
- 두 파일을 하나의 디렉토리에 배치
- 순서 1 : 애플리케이션에 필요한 파일 준비
- easy-app이라는 디렉토리를 생성 후
- pacakage.json이라는 이름으로 다음과 같은 내용의 JSON파일 생성
{
	"name": "easy-app",
	"version": "0.1.0",
	"main": "main.js"
}
- easy-app 디렉토리 안에 다음과 같은 main.js 프로그램 작성
// Visiting wikipedia page
const TARGET_URL = "https://ko.wikipedia.org/";

// Loading needed modules
const electron = require('electron');
const app =  electron.app;
const BrowserWindow = electron.BrowserWindow;

// Being called out event when ready.
app.on('ready', function(){
   // Creating main window
    win = new BrowserWindow({
        width: 800,
        height: 600
    });

    // Loading the TARGET_URL
    win.loadURL(TARGET_URL);
});
- 실행 : electron ./easy-app/
- 직접 준비한 HTML을 Electron에 표시
- Electron에서는 외부 사이트를 표시 가능할 뿐만 아니라, 스스로 마련한 HTML을 표시 가능하다.
코드 main.js
// 지정 URL 로드
    win.loadURL('file://' + __dirname + '/index.html');
    win.on('closed', function() {
        win = null;
    })
코드 index.html
<!DOCTYPE html>
<html>
    <head>
        <meta charset="UTF-8">
        <title>Test App</title>
        <script>
            window.onload = function() {
                var info = document.getElementById("info");
                info.innerHTML =
                    "Node ver." + process.version + "<br>" +
                    "atom ver." + process.versions['electron'];
            };
        </script>
    </head>
    <body>
        <h1>test app</h1>
        <p id="info"></p>
    </body>

</html>
- index.html 코드를 보면 일반 HTML 내의 자바스크립트에서 사용 불가능한 process 객체가 이용되고 있다.
- 메인 프로세스와 렌더링 프로세스 간의 통신
- [Electron의 기본적인 흐름]
- Electron 시작
- 설정 파일(package.json)에 따라 메인 프로그램(자바 스크립트)을 실행
- 메인 프로그램에서 브라우저 창을 생성
- 브라우저 창에 임의의 HTML을 로드
- 앱이 시작되면 HTML 파일 안에서도 자바스크립트가 실행
- 메인 프로그램과 브라우저 안에서 실행되는 두 개의 JS 프로그램이 실행
- 두 개의 프로그램이 다른 프로세스(콘텍스트)에서 실행된다는 점이 중요
- Electron에서는 전자의 메인 프로그램을, 메인 프로세스라고 하고
- HTML에서 실행되는 후자의 프로그램을, 렌더링 프로세스라고 한다.
- 통상의 웹 브라우저에서는 보안을 위해 샌드박스 내에서 HTML이 실행된다.
- 그래서 파일 같은 로컬 리소스에 접근 불가능하다.
- Electron도 마찬가지로 HTML을 실행하는 렌더링 프로세스에서는 위험한 조작이 불가능하다.
- 그러나 메인 프로세스에서는 Node.js의 API 등을 자유롭게 사용가능하다.
- 렌더링 프로세스가 메인 프로세스에게 필요한 처리를 의뢰함으로써 웹 브라우저에서는 수행불가능
하던 각종 처리가 가능하다.
- 이를 위해 메인 프로세스와 렌더링 프로세스 간의 통신을 위한 IPC 모듈이 제공
- 동기적인 IPC 통신
코드
<script>
            var electron = require('electron');
            var ipc = electron.ipcRenderer;

            // send values to the main process and then receive a result Synchronously.
            var res = ipc.sendSync('mul-sync', {a:30, b:2});
            alert("res=" + res);
</script>
- sendSync() 메소드를 사용하여 메인 프로세스 측에 값을 송신하고
- mul-sync라는 채널에 a와 b 두 개의 값을 자바스크립트 객체로 송신한다.(문자열 혹은 js객체)
- mul-sync라는 채널 메시지를 받았을 때에 처리하는 이벤트 핸들러를 정의
- event 인자의 returnValue 속성에 반환 값을 대입함으로써 렌더링 프로세스 측에 값을 전달.
코드
<script>
            var electron = require('electron');
            var ipc = electron.ipcRenderer;

            // receive messages Synchronously.
            ipc.on('mul-sync', function(event, arg) {
                console.log(arg);
                event.returnValue = arg.a * arg.b;
            });
 </script>
-IPC 통신을 수행하는 실제 프로그램
코드 main.js
// Loading needed modules
const electron = require('electron');
const app = electron.app;
const BrowserWindow = electron.BrowserWindow;
const ipc = electron.ipcMain;

// Running main window.
const mainWindow = null;
// call events when ready.
app.on('ready', function(){
   // Creating main window
    mainWindow = new BrowserWindow({
        width: 800,
        height: 600
    });
    mainWindow.loadURL('file://'+__dirname+'/index.html');
    mainWindow.on('closed', function() {
        mainWindow = null
    });
});

// Receiving messages synchronously
ipc.on('mul-sync', function(event, arg) {
    console.log(arg); // Printing a console
    // Returning to rendering process
    event.returnValue = arg.a * arg.b;
});

// Receiving message asynchronously
ipc.on('mul-async', function(event, arg) {
    console.log(arg); // Printing a console
    // Returning to rendering process
    let result = arg.a * arg.b;
    event.sender.send('mul-async-reply', result);
});
코드 index.html
<!DOCTYPE html>
<html>
    <head>
        <meta charset="UTF-8">
        <title>Test App</title>
        <script>
            var electron = require('electron');
            var ipc = electron.ipcRenderer;
            var info;

            window.onload = function() {
                info = document.getElementById('info');
                testSync();
                testAsync();
            };

            // Sending synchronously
            function testSync() {
                // Getting a result by Sending arguments to main process
                var res = ipc.sendSync('mul-sync', {a:30, b:2});
                msg("sync result="+res);
            };

            // Sending asynchronous
            function testAsync() {
                // Sending arguments to main process
                ipc.send('mul-async', {a:30, b:2});
                // if return a result by async trans communication
                ipc.on('mul-async-reply', function(evt arg) {
                   msg("async result="+arg);
                });
            };

            function msg(msg) {
                info.innerHTML += msg + "<br>";
            }

        </script>
    </head>
    <body>
        <h1>test app</h1>
        <p id="info"></p>
    </body>

</html>
'JavaScirpt > Node.js' 카테고리의 다른 글
| [Node.js] Starting Node.js with Crawling (insta crawling, last) (0) | 2020.12.14 |
|---|---|
| [Node.js] Starting Node.js with Crawling (character code, RegExp) (0) | 2020.12.10 |
| [Node.js] Starting Node.js with Crawling (Parsing XML/RSS, PhantomJS?, CasperJS?) (0) | 2020.12.07 |
| [Node.js] Starting Node.js with Crawling, HTML 재귀적 다운 (0) | 2020.12.06 |
| [Node.js] Starting Node.js with Crawling, HTML 다운로드 까지 (0) | 2020.12.05 |